
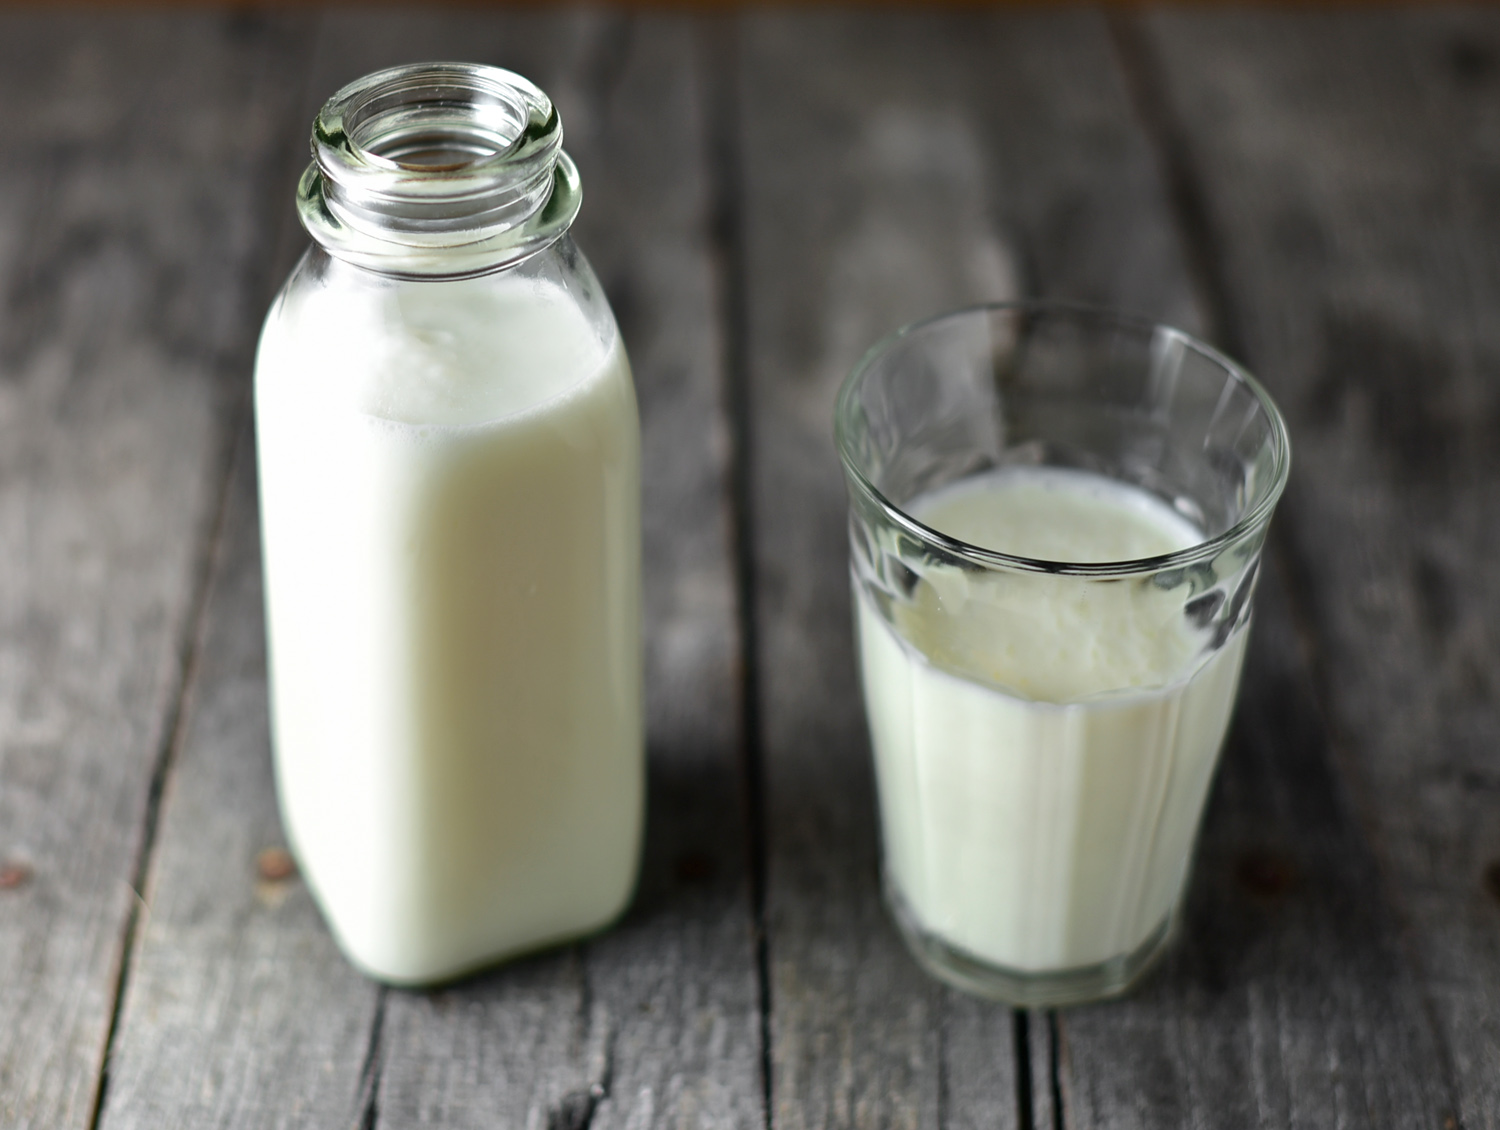
Over the past decade or so, kefir, a kind of cultured milk sometimes described as a “tangy milk smoothie,” has gained popularity and conquered the shelves of American supermarkets. “Probiotic,” the labels proudly proclaim, as if that word — that word you’d never heard until that moment — should become your new mantra. After all, if antibiotics are evil when they’re in your food, probiotics must be a good thing, no? (Note: some probiotics can be found in the yogurts you’ve already been eating all your life).
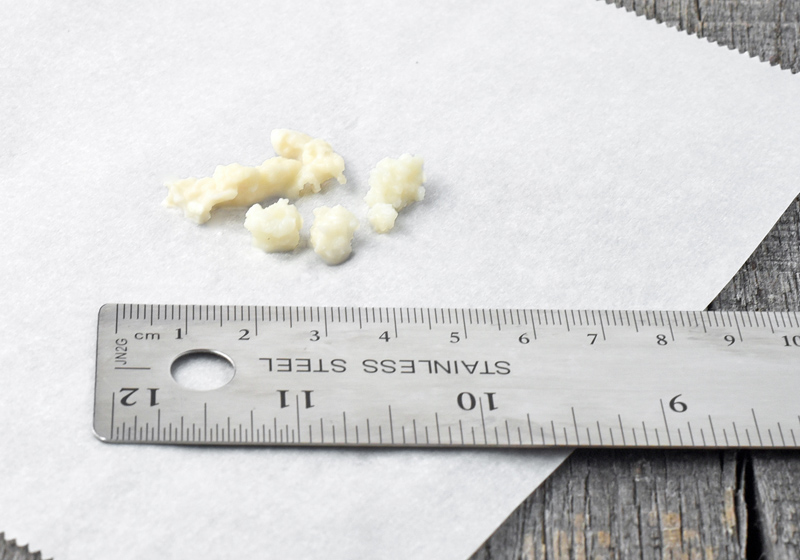
Well, sorry to rain on your parade, but I have news that’s about to shatter your probiotic world: most commercial kefir, though a perfectly fine drink, isn’t real kefir. Commercial products are cultured with a mixture of up to a dozen bacteria strains. Real kefir, on the other hand, is made with kefir grains. These little off-white balls are, according to Cultures for Health, “a combination of live bacteria and yeasts that exist in a symbiotic matrix on a surface of a complex polysaccharide with a casein core.” You can salivate over the long list of bacteria and yeasts that kefir grains contain by checking out this page, and fantasize about the wonderful yet mostly unstudied effects that each one of them will have on your health.
So, it sounds like we should all rush out to buy these precious nuggets and live a happy, probiotic, symbiotic life.
— Honey, how about we make some kefir for breakfast?
— What a lovely idea! I’ll take the kefir grains out of the freezer and put them in a cup of milk, while I make a pot of tea and some cricket-flour blini.
Nyet! Things are bit more complicated. Like Audrey II, the blood-thirsty plant in Little Shop of Horrors, the deceptively cute kefir grain is actually a beast that needs to be fed constantly (only milk, not blood). And the more you feed it, the more it grows too! Prepare to rearrange your schedule, because for the duration of your kefir fad, this will become your main preoccupation in life. Do you have enough milk in the fridge, or do you need to run to the store? Do you have to wake up in the middle of the night to start a new batch, or should you cool down the current one for a few hours to slow the process? Did your whole family/all of your roommates drink their glasses of kefir today, or are you going to end up with surplus amounts that take up half of your little Manhattan fridge?
This whole kefir-making thing raises an important philosophical question of the chicken-or-egg variety. If you need kefir grains to make kefir, and if you need to make kefir for the grains to grow, which one came first? Kefir grains still haven’t revealed all their secrets. Scientists have tried to use pure cultures to recreate them, to no avail. From what I’ve read, the most plausible theory is that grains originated from sheep’s intestinal bacteria. Traditional kefir was made in sheepskin bags that were suspended in the sun at daytime and hung near a door after sunset. The bag would be knocked by anyone passing through the doorway, helping to keep the milk and kefir grains well mixed. Check out this blog for a much more exhaustive history of kefir, especially the unlikely tale of kefir’s spreading to Russia.
Kefir grains come with excellent instructions on how to use them and make kefir, like these. I’m not going to repeat them here; instead I’ll focus on my personal observations during my experiments.
Purchasing the kefir grains
Make sure you don’t buy kefir starter culture instead of kefir grains. (There’s nothing wrong with starter culture per se, but it makes the same kind of “fake” kefir as what you find in most stores, and this isn’t what we’re talking about today). Kefir grains are expensive — I purchased mine here for about $18. So remember that the whole adventure only makes sense if you plan to drink kefir on a regular basis, at least for some time.
Activating the kefir grains
It takes a few batches to properly activate the kefir grains. My first couple of rounds took around 24 hours for the milk to thicken. The results smelled rather unpleasant and had to be discarded — this is normal. But within less than a week, my grains started producing perfectly good kefir in batches of up to 1 quart, in 18 hours or so (the exact time will vary with the air temperature in your kitchen).
Making kefir
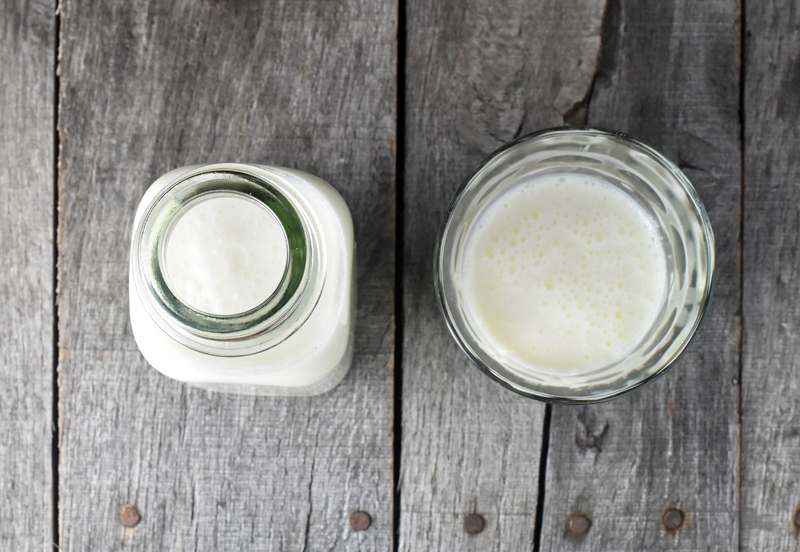
The recipe is as straightforward as it gets. Place the grains and milk into a container, cover with cloth, and let rest until the milk has thickened, stirring occasionally. Strain in a colander to separate the grains, store the kefir in the refrigerator, and repeat the process with the grains and a new batch of milk. While it’s recommended that you stick to the same brand and type of milk, I’ve switched between a few different ones without any noticeable adverse effect. If the kefir starts separating into curds and whey, just give it a quick whiz with a hand blender. You’ll find tons of troubleshooting FAQs online (like here or here).
There are two factors that I found worth playing with. First, the fat content of the milk. In fact, this is more like a factor that’s not worth playing with. I made kefir with whole milk and 1% fat milk, and noticed no significant difference in the texture. So if you’re on a low-fat diet, rest assured that you can use low-fat milk without any worries about producing low-quality kefir. The literature claims that skim milk results in thinner kefir, and this must be true (cream is thicker than milk, right?), but only very marginally.
Second, the lactose and protein content. The explanation on Wikipedia gives a good idea of how the fermentation works and why this matters:
During fermentation, changes in composition of nutrients and other ingredients occur. Lactose, the sugar present in milk, is broken down mostly to lactic acid (25%) by the lactic acid bacteria, which results in acidification of the product. Propionibacteria further break down some of the lactic acid into propionic acid (these bacteria also carry out the same fermentation in Swiss Cheese). Other substances that contribute to the flavor of kefir are pyruvic acid, acetic acid, diacetyl and acetoin (both of which contribute a “buttery” flavor), citric acid, acetaldehyde and amino acids resulting from protein breakdown.
The slow-acting yeasts, late in the fermentation process, break lactose down into ethanol and carbon dioxide: depending on the process, ethanol concentration can be as high as 1–2% (achieved by small-scale dairies early in the 20th century), with the kefir having a bubbly appearance and carbonated taste: most modern processes, which use shorter fermentation times, result in much lower ethanol concentrations of 0.2–0.3%.
This confirms that the fat content isn’t very important, as fat isn’t transformed by the kefir grains. But what’s particularly interesting is that the lactose is responsible for the acidification, ethanol concentration, and carbonation of kefir. If these are characteristics that you seek (as I do, within reason), you can just give your milk a little lactose boost! You can buy lactose (on Amazon of course), and I’m kind of regretting that I didn’t try it. But perhaps even more conveniently, you can buy milk powder, such as the widely available Carnation Instant Nonfat Dry Milk, which contains both lactose and protein. I’ve experimented with 2 g, 4 g, and 8 g of milk powder for 1000 g of milk, and sure enough the results got fizzier and more acidic. I never got drunk on the stuff though. 😉
To summarize, here’s the recipe I ended up liking best:
Food Perestroika’s kefir
Yields about 500 g
2 g nonfat milk powder
500 g whole milk
activated kefir grains
- In a cup, mix the milk powder into 1/4 of the milk using a fork. Transfer to a quart container, then add the rest of the milk and the kefir grains. Cover the container with a clean kitchen towel, and let sit at room temperature until the milk has thickened, which should take between 18 and 24 hours (depending on the temperature in your kitchen, and a few other factors). Gently stir the milk with a fork once in a while, maybe every 4 hours.
- Strain the kefir in a sieve, then cover and refrigerate. If the kefir is separating into curds and whey, either shake vigorously or briefly whiz with a hand blender. The kefir can be kept for a few days.
- Retrieve the kefir grains from the sieve, and immediately start a new batch of kefir (or see below).
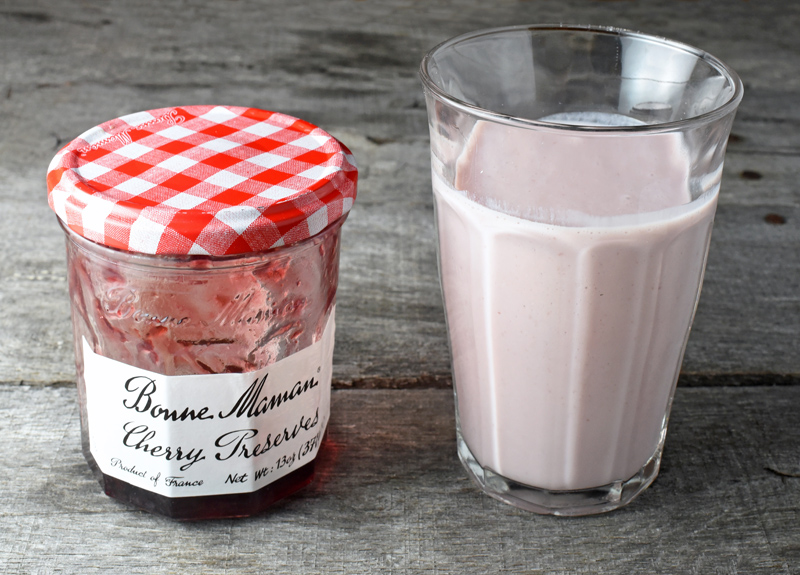
Making flavored kefir
This doesn’t really call for a recipe. Just know that you can easily flavor and sweeten your kefir using fruit preserves. Just combine to taste, give another quick pulse of that hand blender (or countertop blender), and pass the mixture through a sieve. The sugar in the preserves should also help extend the kefir’s shelf life a bit. But again, this is hardly a concern when you know there’s always another batch coming in less than 24 hours.
Taking breaks from making kefir
It’s best to stop the process as soon as the kefir threatens to separate into curds and whey, and start a new batch immediately. At the same time, you probably don’t want to wake up in the middle of the night just to deal with that. If you have a life, you’ll also spend time out of your home sooner or later, and taking your beloved probiotic nuggets with you might just be too much. Luckily, there’s an easy solution: place the culturing milk in the fridge. This will allow you to adjust your kefir-making to a 24-hour cycle. It can also sit in the refrigerator for about a whole week. My grains’ instructions claimed that by the end of the week the milk should have thickened, but that never happened for me. Regardless, you don’t want to wait so long that the milk goes bad, so I don’t recommend keeping the same batch much longer.
Storing kefir grains
As crazy as it may sound, you’ll eventually get tired of making kefir. When this happens, look at the plump little balls that your kefir grains have become, and try to remember the days when they were just puny yellowish crumbs. You’ve come such a long way together! Can you really get rid of them? Of course not! Freeze them instead! Rinse the grains gently under cold water. Pat them dry with a paper towel, and let them dry on another paper towel for about 12 hours. The grains will be yellowish and maybe won’t smell very nice — just like when you got them. Put them in a Ziplock bag with approximately 15 g of milk powder to cover them. Seal the bag and freeze for up to a year. You should be able to thaw them, make a few batches of kefir, and refreeze them, repeating annually ad infinitum. Each time, go back to the beginning of this post and start all over again, eager to rediscover the miracles of a probiotic life.
8 comments
So you’re not feeding it blood, but there’s still plenty of sweat and tears!
Good post!! Thank you for your hard work on research!
Love the thought of adding a little cherry jam! I’m making Martha Stewart’s Buttermilk Pie with my kefir, looking forward to tasting it 🙂
As always an enjoyable read and a temptation to try it
Lots of useful information in this post, thank you for your work! As kefir lovers, we are surprised to read that you paid for your kefir grains. In Spain, the kefir is shared between people who doesn´t even know each other 🙂 Take a look here, for example:
https://es-es.facebook.com/kefiresp
Looking forward for your next post!
Hi foodity, I imagine it’s also possible to get grains for free in the US if you find people online who make their own kefir. I just didn’t think about it!
I’m confused. You said: “Make sure you don’t buy kefir starter culture instead of kefir grains. (There’s nothing wrong with starter culture per se, but it makes the same kind of “fake” kefir as what you find in most stores, and this isn’t what we’re talking about today). Kefir grains are expensive — I purchased mine here for about $18.” But that page that opens says “Milk Kefir Starter Grains”. So isn’t it a starter culture or I just don’t understand 😀 How does starter culture differs from starter grain? Thank you! 🙂
Hi Makke, ignore the word “starter”. All it means is that it helps the process start. I could have said “make sure you don’t buy a powdered direct-set culture instead of kefir grains. This article gives more details on the difference between the two.